

Welcome to the third instalment in our grow your own blog series. So far we’ve covered what basics we need to begin with and some top seed sowing tips.
Hopefully by now you should be seeing signs of life in your seed trays, pots or containers; so this week we will be talking about how to care for your newly emerging plants.
You may notice your seedlings look very different to what you’d expected; having no similarities at all to how your fully grown plants will look. But, be patient and very soon you will see another set of leaves begin to emerge which will look a lot more familiar. These are called ‘true leaves’.

Once your seedlings produce true leaves, it’s safe to say your plants are maturing nicely and should be strong enough for you to start thinking about moving them to new a home which is a process referred to as ‘potting on’ or ‘pricking out’.
Pricking out is an important part of the growing process because it gives the roots more space to spread out and grow. This combined with the fresh nutrient rich compost you plant them into, gives your plants an added boost during the new growth phase they’re entering. Whether you re-home your seedlings in a larger container or in the ground will depend on the variety of veg you’re growing.
In our case, we will be potting on our basil and mint seedlings in slightly bigger pots (one plant per pot) and our peas will be planted in a large tub (although you can plant these in the ground if you have the space).

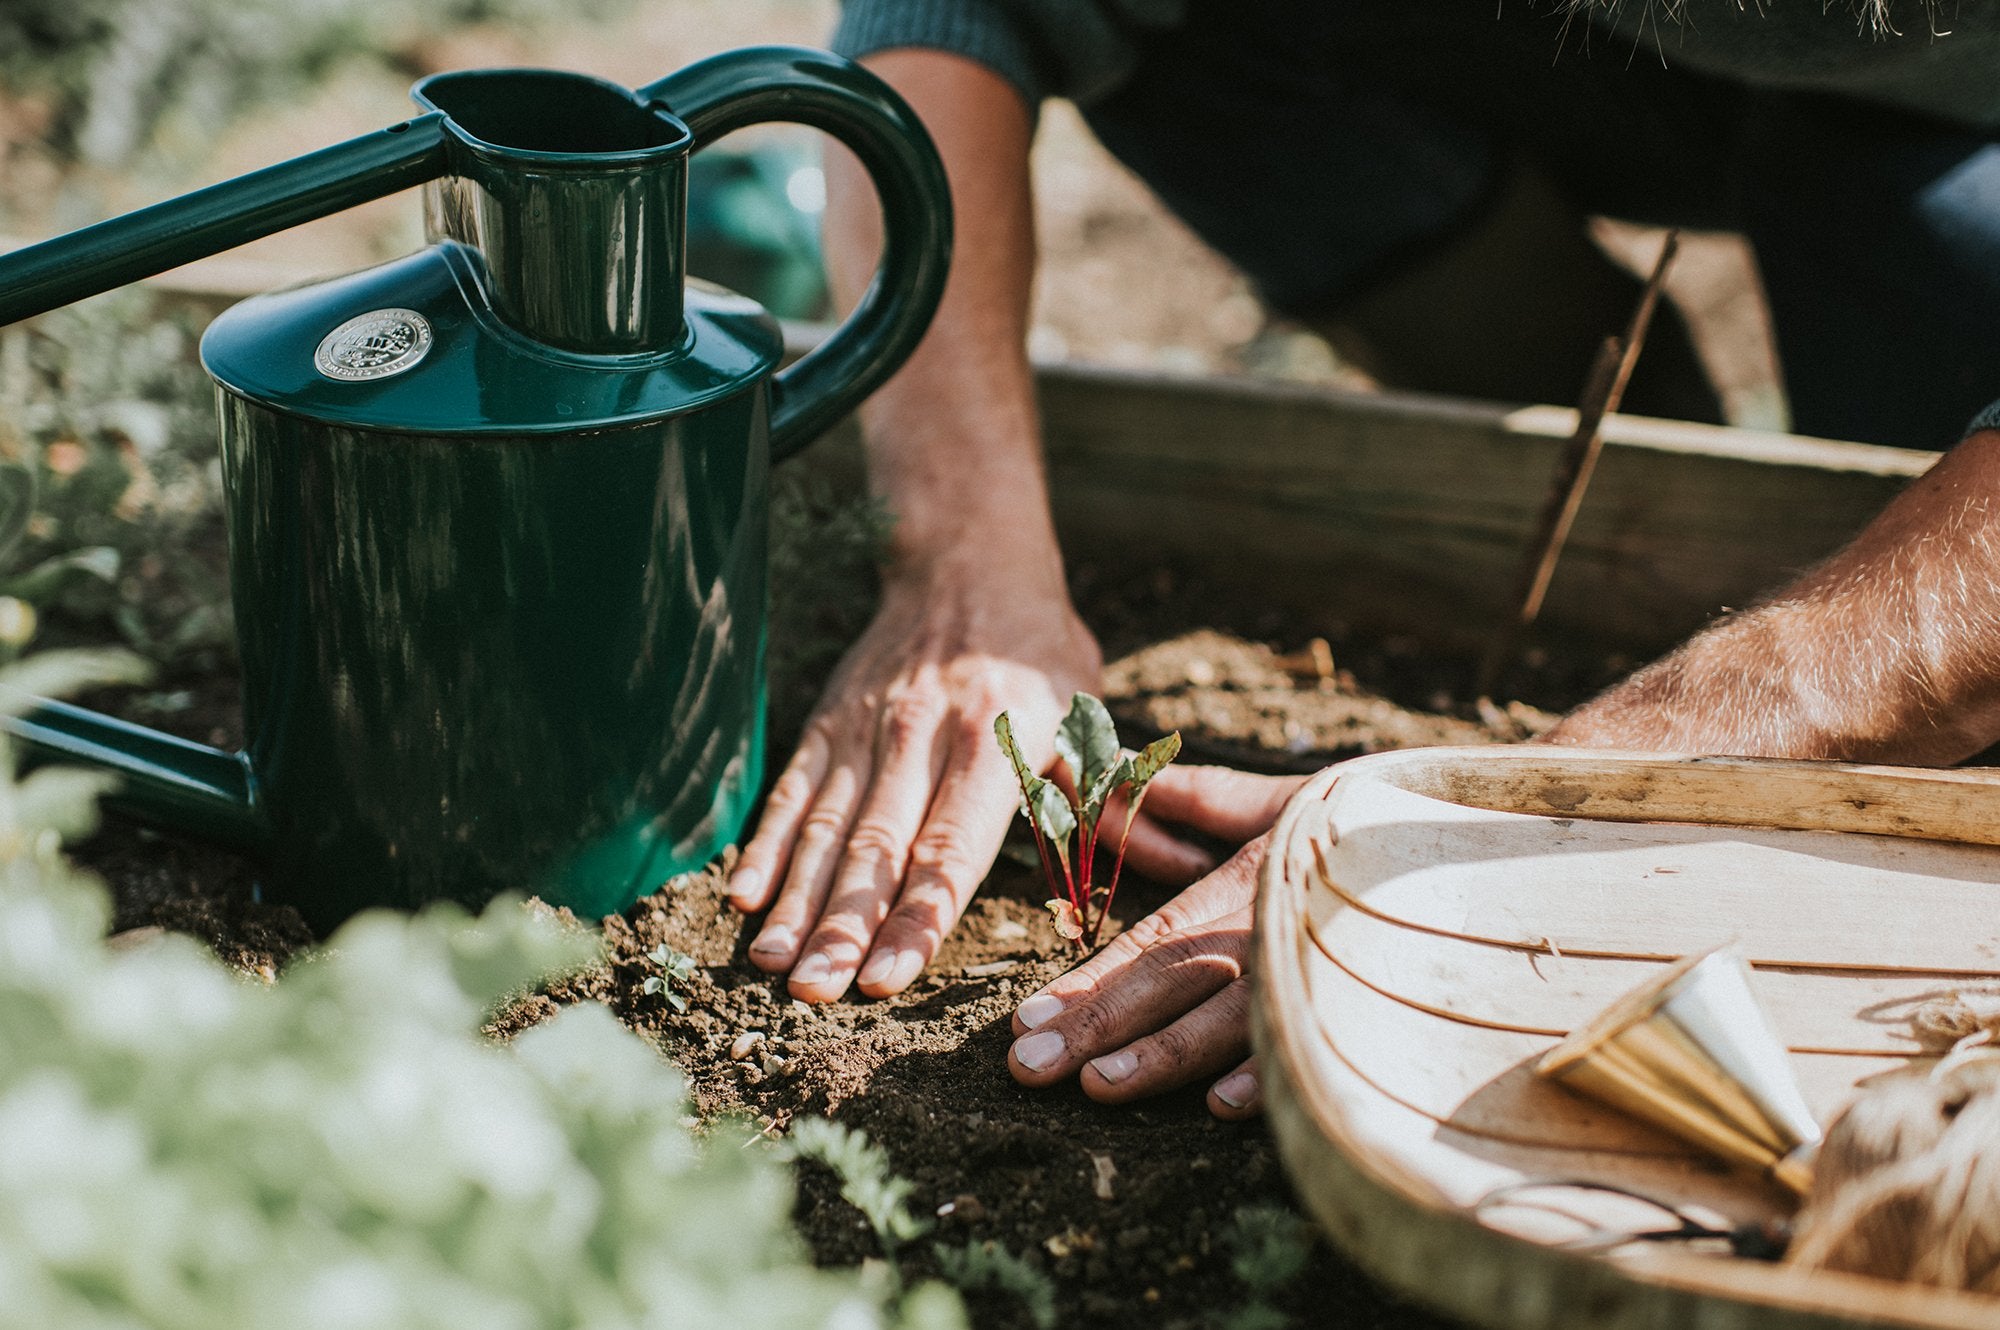
It’s important to remember that although your seedlings are maturing fast, they’re still very delicate so you must handle them with care, holding them by the leaves rather than the fragile stem.
Firstly, fill a small pot with multi-purpose compost and make a small hole in the middle; I find a pencil is the perfect tool for this. Then loosen the compost around your seedling, gently removing it from the soil, teasing apart any roots which may be tangled. Place your seedling into the pre-prepared hole, ensuring the roots are neatly tucked in. Gently firm the compost around the base of the stem to ensure your seedling is secure and that there are no air pockets surrounding the roots. Lastly, using a watering can with fine holes, give your plant a drink.
If you’re having a go at growing your own peas; you will need to give them a little extra support as they mature. You can use a straightforward frame with netting for them to grow up or a simple tepee structure consisting of bamboo canes; winding string around the outside of the support from top to bottom. Pea plants really aren’t fussy and will use their tendrils to anchor themselves to absolutely anything, so you can be as creative as you like with what you use for this.

Now you’ve successfully potted your seedlings on, all that’s left to do is look after them following the basic principles of, yes you’ve guessed it; lots of natural sunlight and regular watering. Your plants will show their appreciation in no time and you’ll soon be treated to lots of lovely new growth.
Don’t worry if your seedlings aren’t quite big enough to be pricked out or you’re a little behind with your sowing, just come back and have another read when you’re ready.
We’re well on the way now to actually eating some of our green goodies and that’s exactly what we will be talking about in our last blog together so be sure not to miss it!


